Ventroy
Official Ventroy Site
Hiren's BootCD PE x64
Lorem ipsum dolor sit amet, consectetur adipiscing elit
Windows ISO
Recommended windows version for DMA Main PC -> Windows 10 22H2
All Required Files
All the important files for No-HWID devices.
- This step is recommended for all users who require completely clean, trace-free windows
- This step require an USB storage drive with atleast 16GB and USB 3.0
1
Plug in your USB Storage Drive
Make sure you don’t have any important files inside.
2
Install Ventroy into your USBc Storage Drive
- Download Ventroy Installer from Official Site. (Link on top)
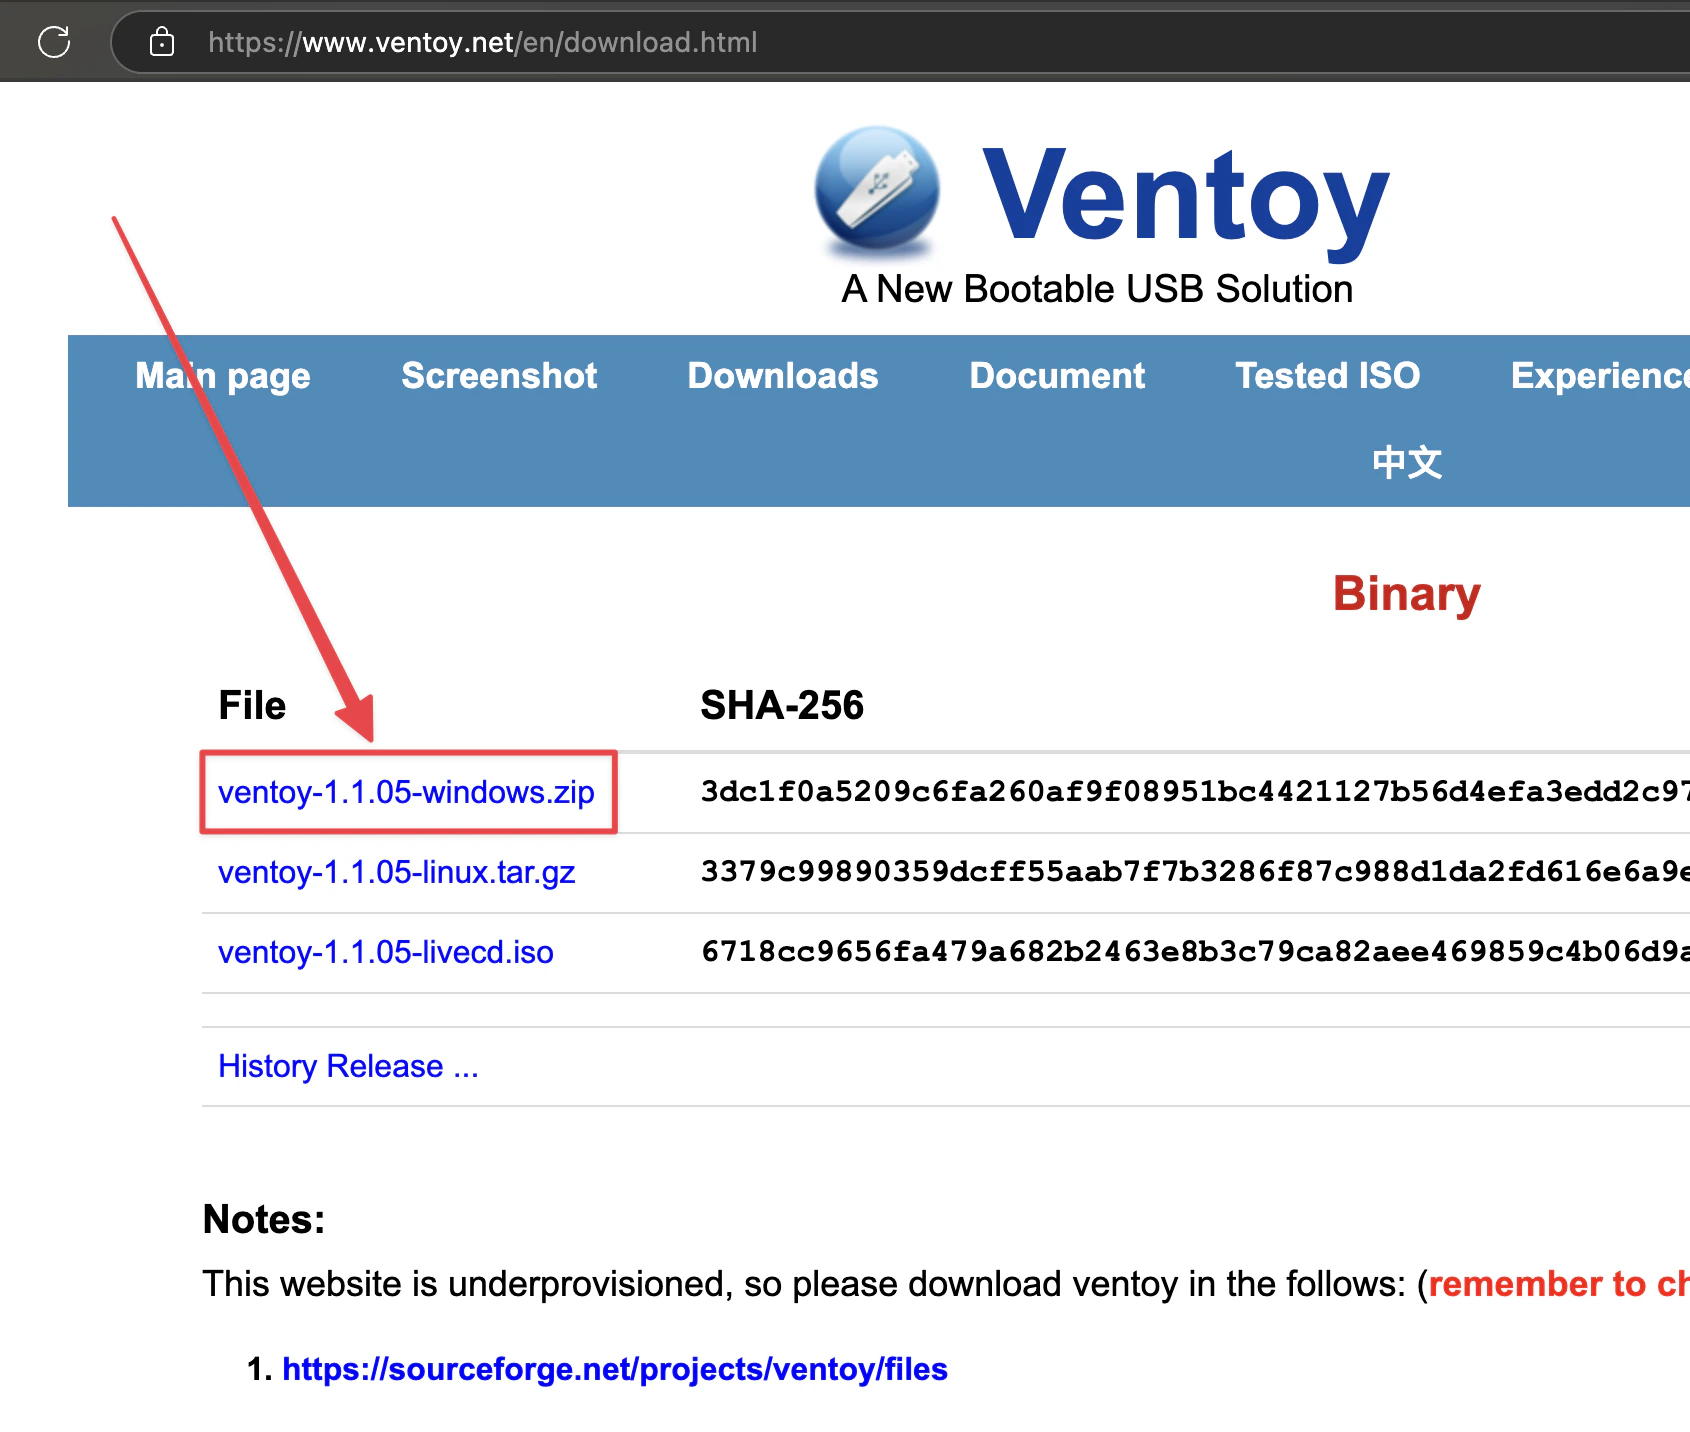
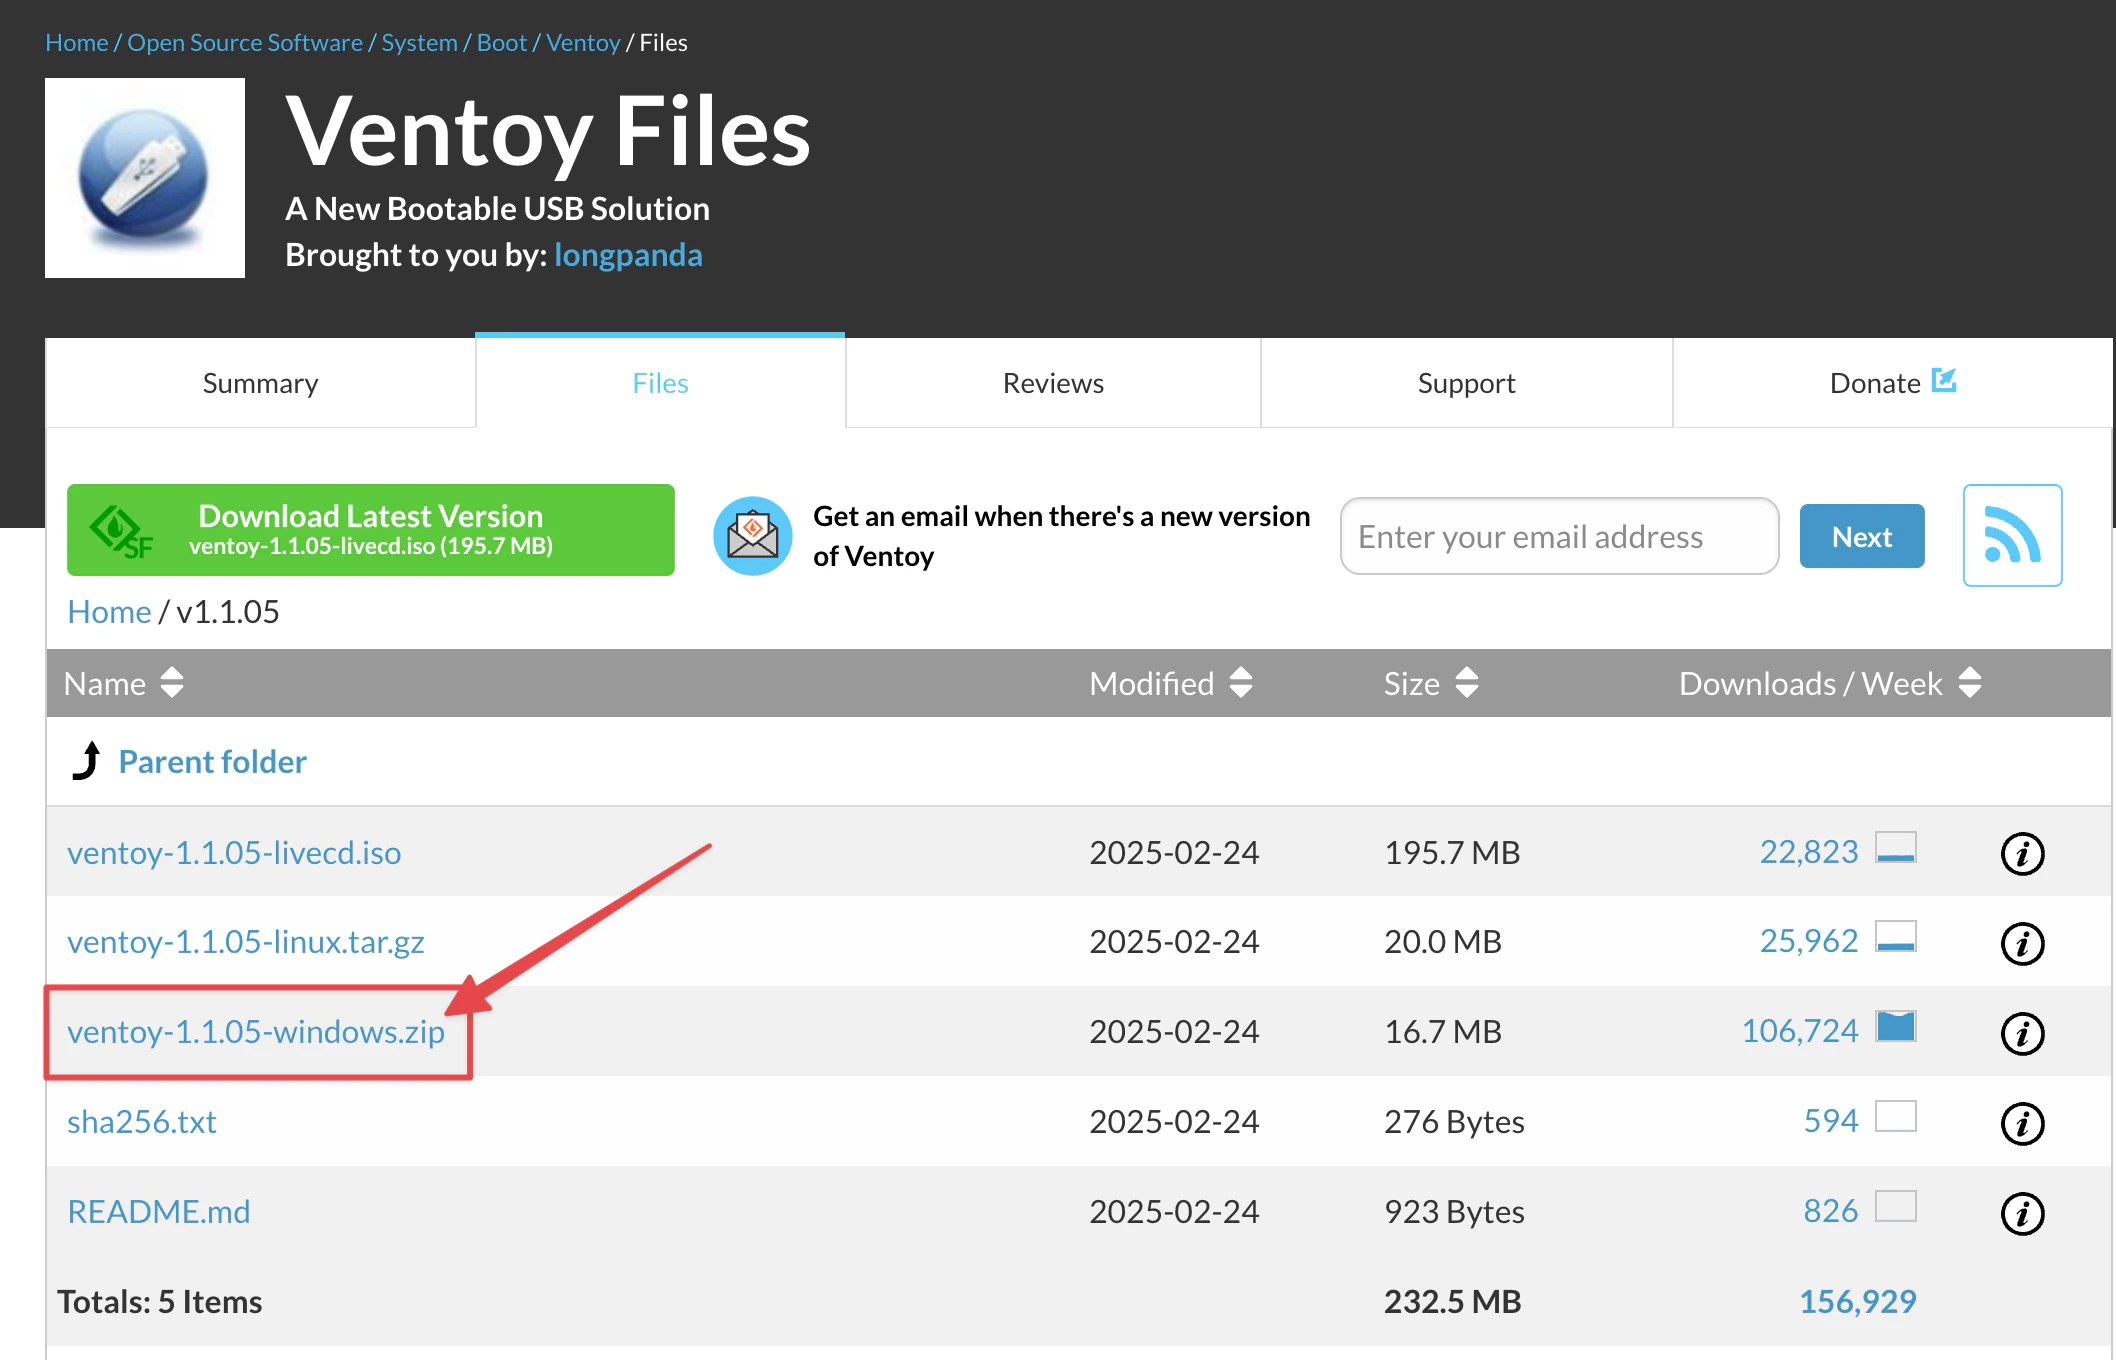
- Unzip the downloaded zip file.
- Open the folder and run
Ventroy2Disk.exe. - Choose the plugged USB Storage Drive and Click
Install. - After installation complete, unplug and plug in again the USB storage drive. A new storage
Ventroywill now appear as empty usb drive. This storage will be use to store all our needed files.
3
Prepare all requires files
- Download the Windows ISO and All Files in our Cloud Drive. (Link on top)
- Place all the files into
Ventroy Storage (USB Storage).
4
Boot into Windows PE
Method 1
- Shutdown your PC and power on. During startup, press F12 or F12 or F12 or F12 or F12 to access the boot menu.
(Different brands of motherboards have different trigger buttons, but pressing all the buttons together can activate them.)- In the boot selection, choose the usb drive (ventroy)
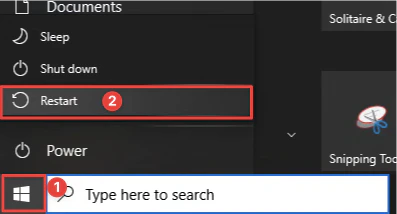
Method 2
- Press and holding SHIFT button and click restart. (Don’t release the
SHIFTbutton until it load into troubleshoot page)
- It will load into Blue Options Page.
- Choose
Troubleshoot->Advanced Optoins->Startup Settings. It will now help you boot into BIOS.- Find
Bootoption, choose the usb drive (ventroy) and boot into it.
5
Select HBCD_PE.x64.iso in Ventory booting selection
- After successfully boot into Ventroy, choose the previous downloaded
HBCD_PE.x64.iso.- It will now boot into the Windows PE system.