You should now inside the Windows PE system.
1
Run & Install via Windows Installer ISO
- Opem
File Explorer. - Go into
USB Storage (Ventroy)-> Double-click to open the downloaded Windows ISO. - Double-click and run
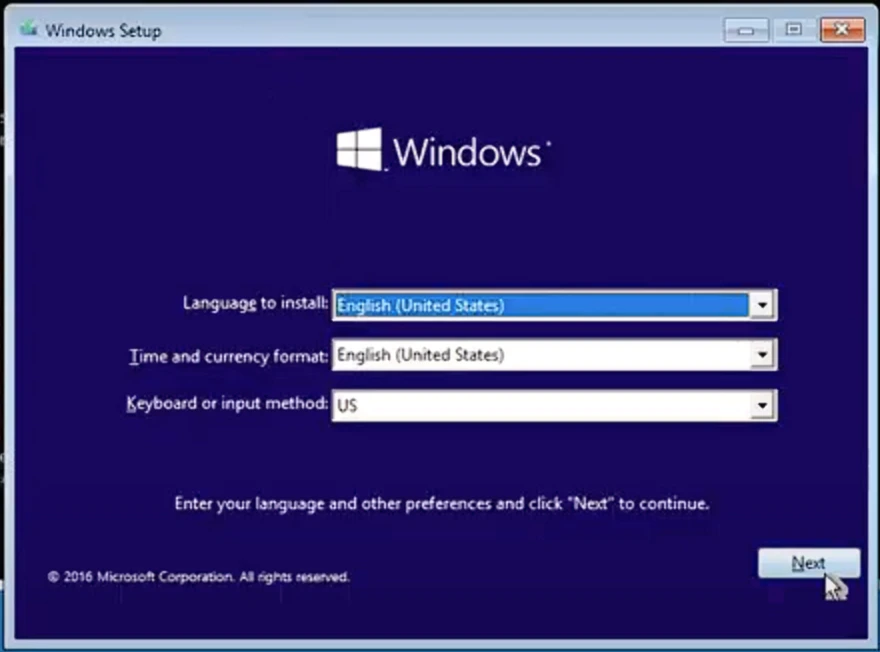
setup.exeinside of the Windows ISO. - Choose your preferred language, timezone, input and click
Next-> Tick and Accept Terms -> Go Next
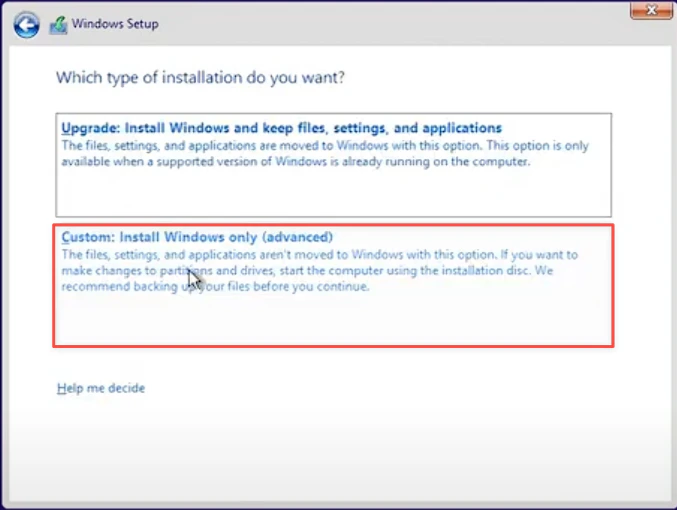
- Choose
Custom: Install Windows only (Advanced)
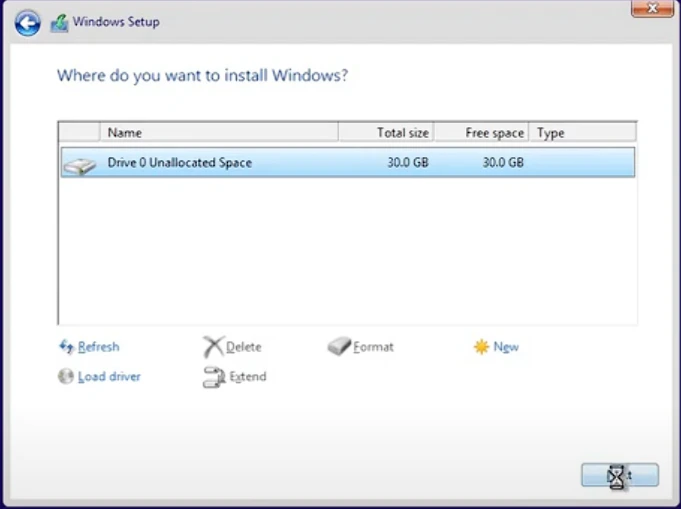
- There should only 1 disk option available for No-HWID ssd. Choose it and click
Next.
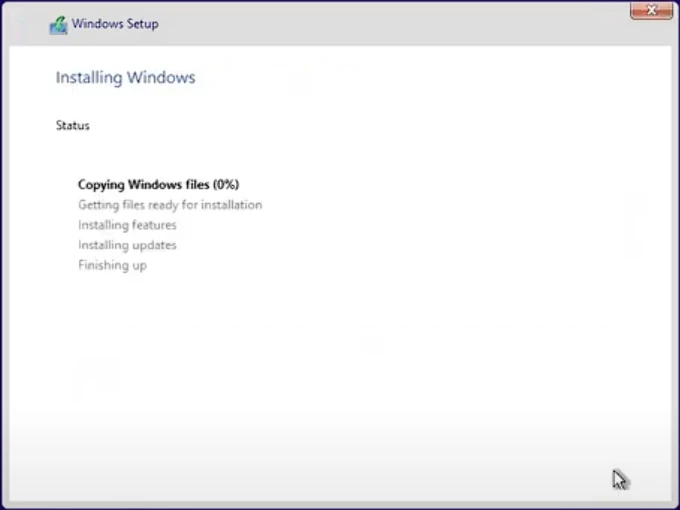
- Wait until the installation windows complete.
2
Boot into Windows
- After the Windows Installation completed. Everything is now done in Windows PE side.
- Shutdown from Windows PE system and unplug the USB Storage Drive.
- Power ON PC. You should now able to boot into the new clean windows.
- Setup the windows name, password and get into the windows.
3
Plug in again USB Storage (Ventroy)
4
Install all required Driver & Basic Runtime
VC Runtime All in One Pack
Neque porro quisquam est qui dolorem ipsum quia dolor sit amet
DirectX Runtime
Lorem ipsum dolor sit amet, consectetur adipiscing elit
No-HWID Disk Driver
- Open
USB Storage (Ventroy)->M.2 SSD DriverFolder. - Right click
Install Me.infand chooseInstallfrom the menu selection. - Done.
No-HWID Network LAN
- Open
USB Storage (Ventroy)->Network LAN DriverFolder. - Right click
Install Me.infand chooseInstallfrom the menu selection. - Done.
5
Check HWID Serials
- Open
USB Storage (Ventroy)-> RuncheckHWIDas ADMINISTRATOR. - Compare the HWID with the image you take on Overall Step 1.
- Disk Serial Number and UUID should now difference compare to old HIWD.
6
All step is now completed. You can now close the software.