Product Interface
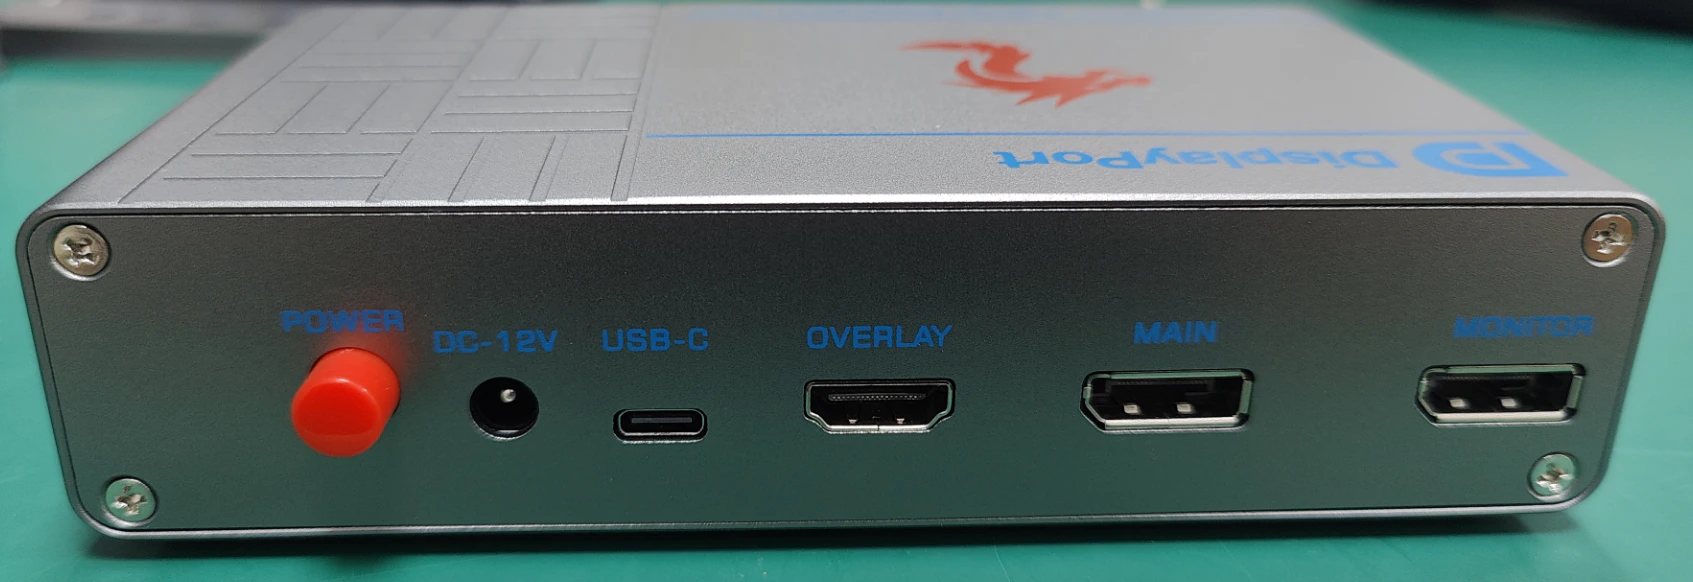
Product Wiring Instruction Table
| DC-12V | Transformer |
|---|---|
| USB-C | Type C (USB 2.0) |
| OVERLAY | Second PC HDMI |
| MAIN | Main PC DP |
| MONITOR | Monitor Output DP |
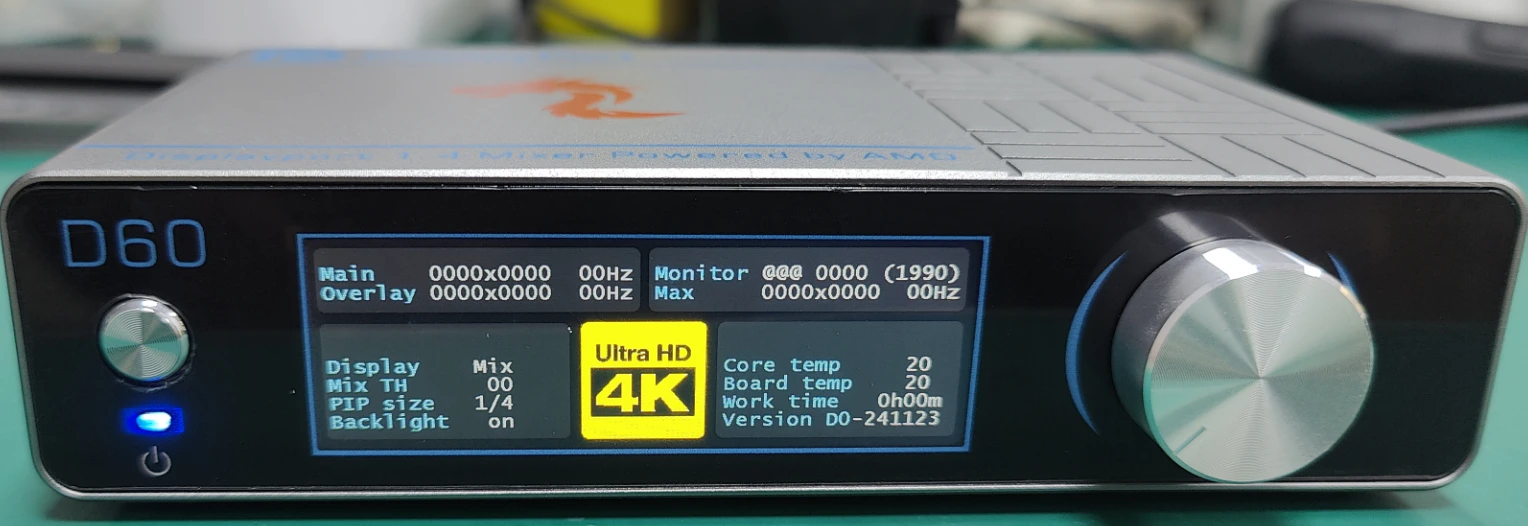
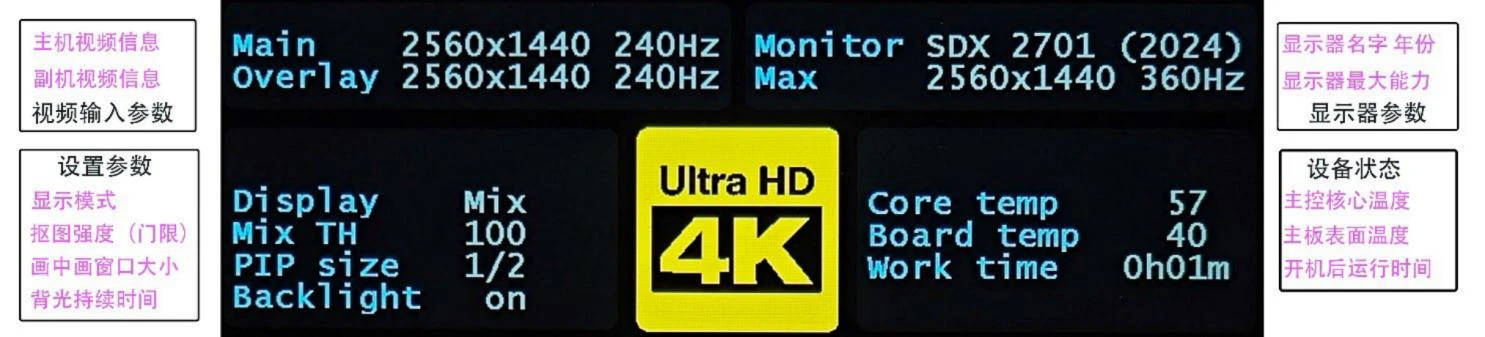
Monitor Fuser Display
| Option 1 | Option 2 | Option 3 | Option 4 | |
|---|---|---|---|---|
| Display Mode | Mix (Both) | M only (Only Main PC) | O only (Only Second PC) | PIP-4 (Not Available Yet) |
| Image Intensity (Thereshold) | 0-250 for every scale | 0-250 for every scale | 0-250 for every scale | 0-250 for every scale |
| Window Size in Picture | 1/2 | 1/3 | 1/3 | - |
| Backlight Duration | 10s | 30s | 50s | Keep On |
Proper Way to Use Fuser
1
Plug All Cable Correctly
Before powering on the fuser, make sure to connect the power cable, monitor DP cable, Main PC (Gaming PC) DP cable, and Second PC (Cheat PC) HDMI cable (you can connect the HDMI cable later if needed).
2
Power ON Fuser & Check Output
Press the power button. When the red light turns blue and stays solid, the fuser is in normal working mode. After a few seconds, the monitor should display an image. Check the small screen to ensure the monitor information is shown, and both input ports are displayed.
3
Config the Fuser Settings
Set the desired refresh rate on both the main unit and the sub-unit. Ideally, select the highest option available from the list.
4
Confirm & Apply all the Settings
Use the rotary knob to switch to the next option and press the knob to confirm. There are four parameters you can adjust. When the white cursor is active, you can change the settings. After pressing the knob to confirm, it will return to the red cursor.
Fuser Error Indicators
No light after pressing the power button
No light after pressing the power button
Red light turns off after pressing the power button
Red light turns off after pressing the power button
Red light turns blue and blinks after pressing the power button
Red light turns blue and blinks after pressing the power button
Red light turns green and blinks after pressing the power button
Red light turns green and blinks after pressing the power button